Our process
From the very first idea to the moment you hold the finished result in your hands – we believe every project deserves its own unique story. In 7 straightforward steps, we guide you through our journey together.
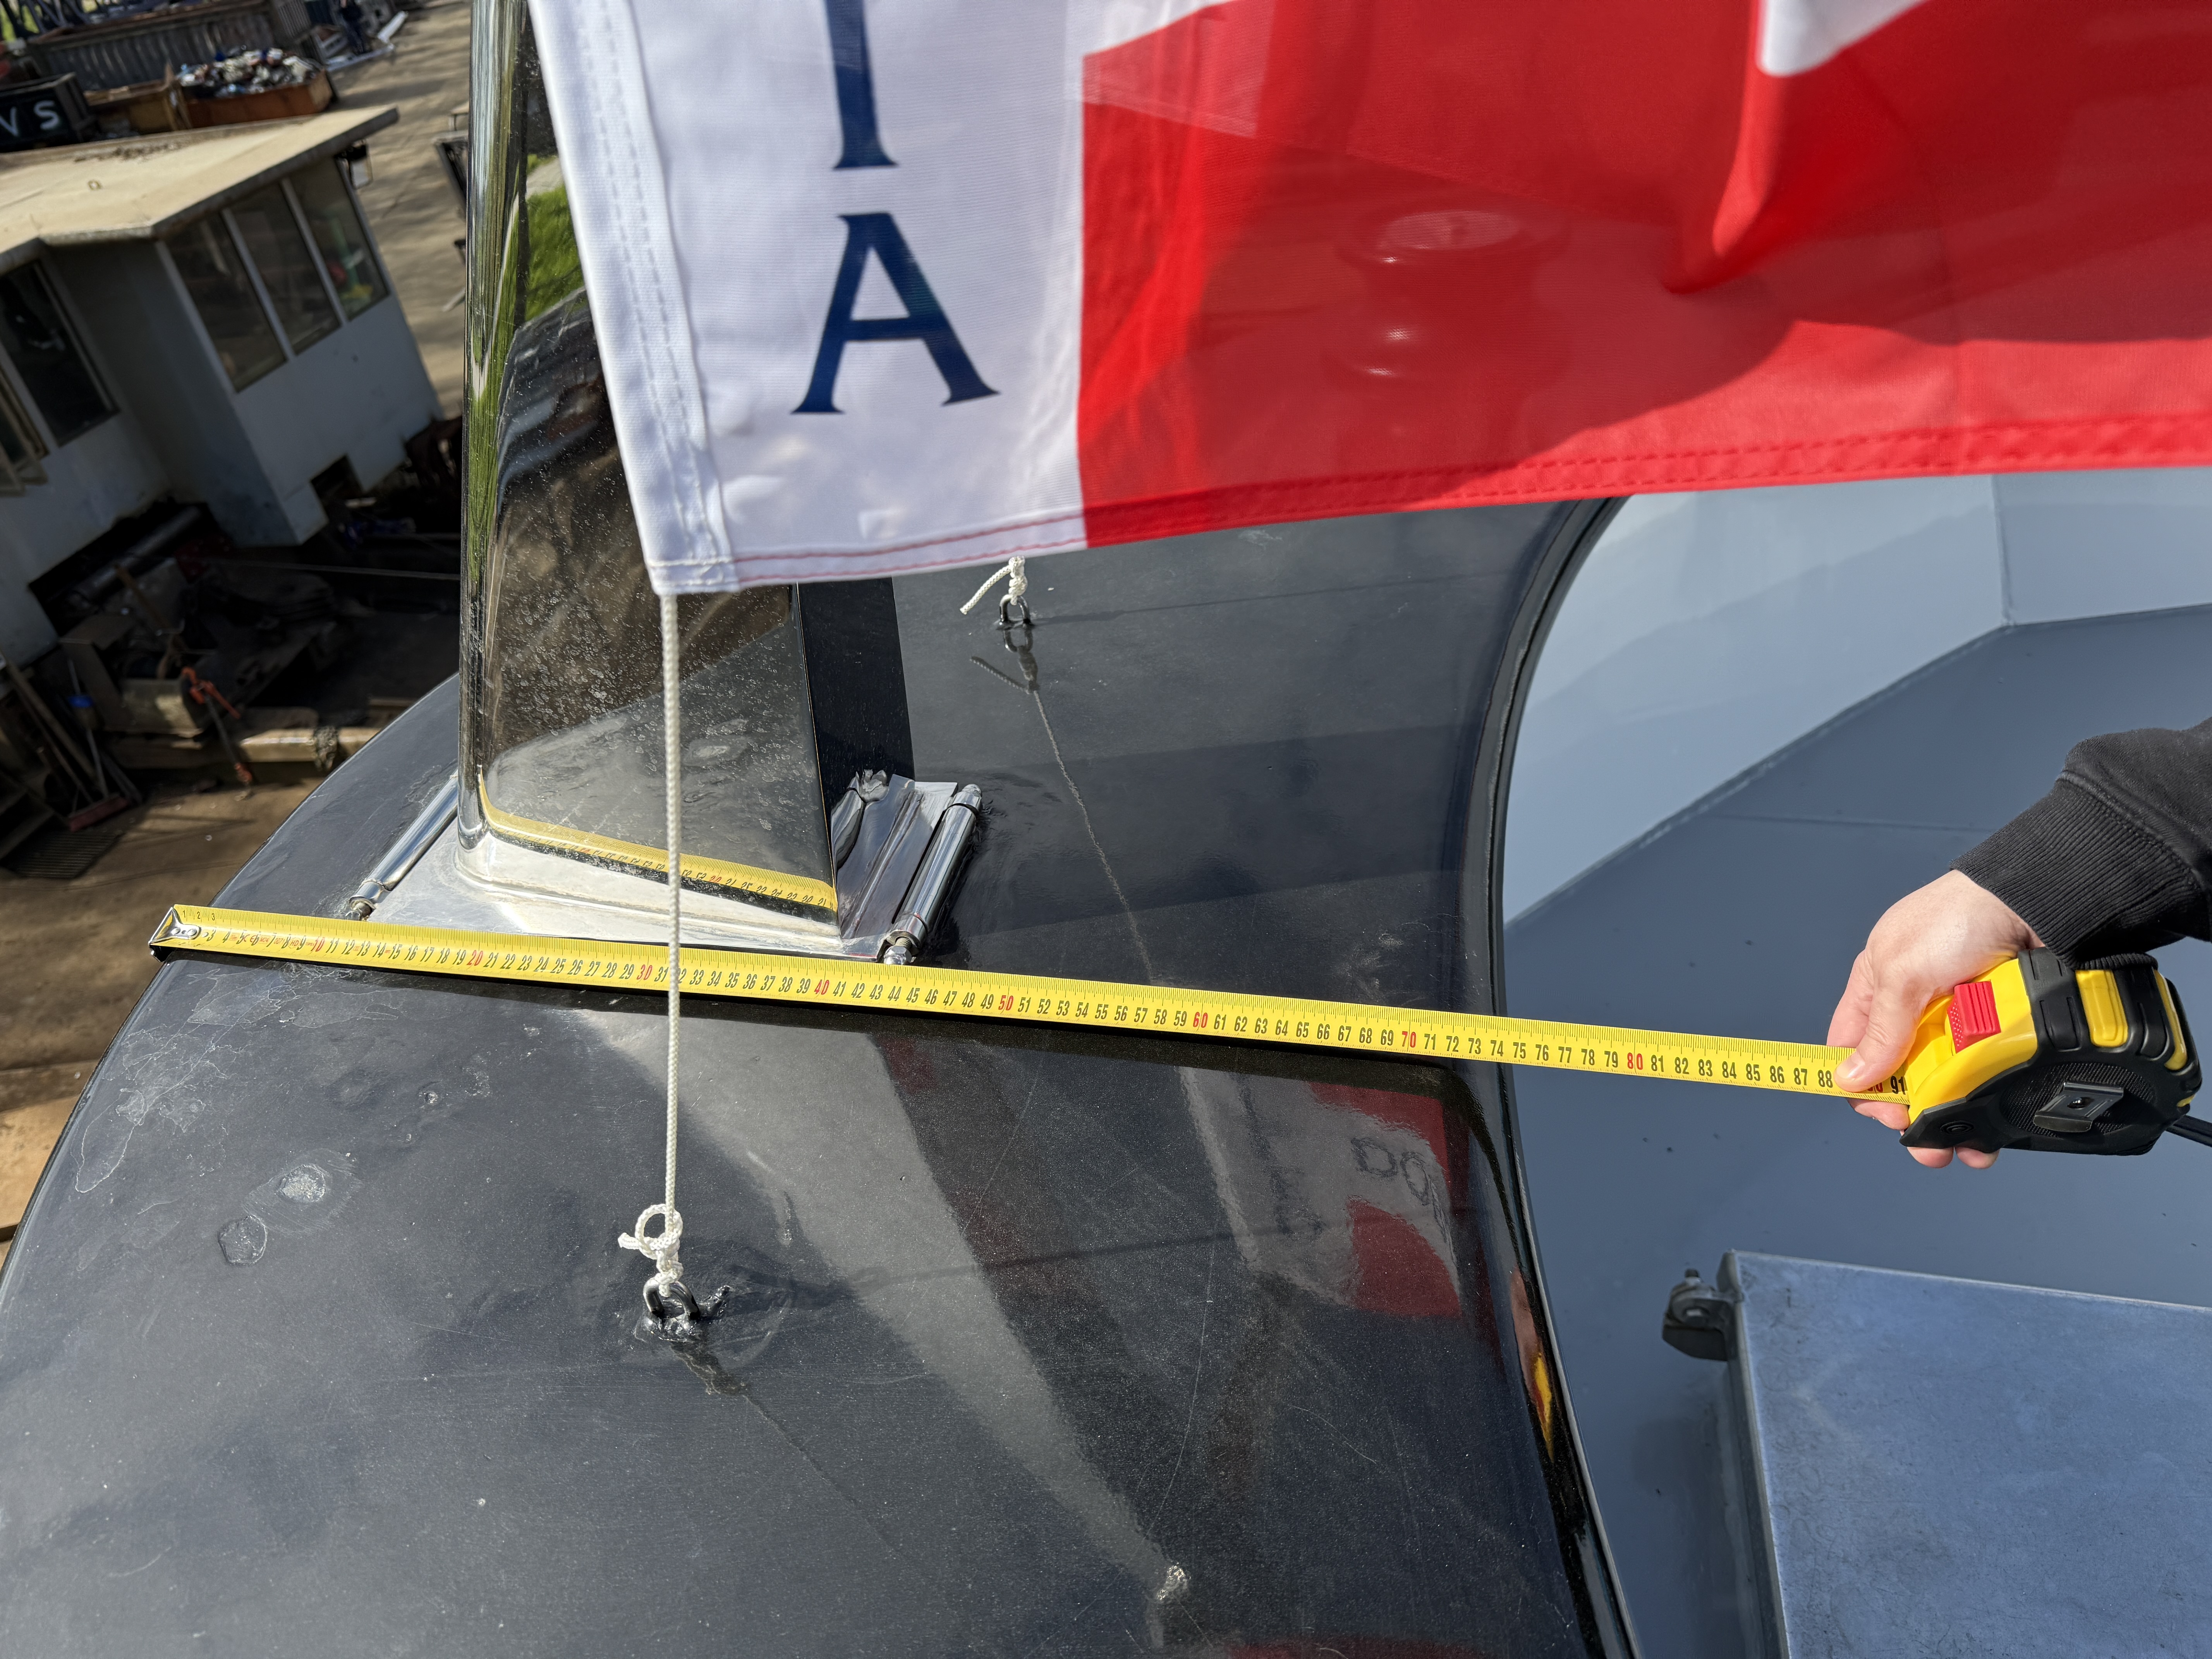
Onboard Visit
To ensure the highest level of detail, we recommend an on-board visit where we photograph and measure your vessel in person. If that’s not possible, we can work with your photos and references. More references are always welcome, as they help us create the most realistic model and keep costs predictable. We provide a transparent price indication before and after the visit, so you can be sure you’ll never pay more than necessary.
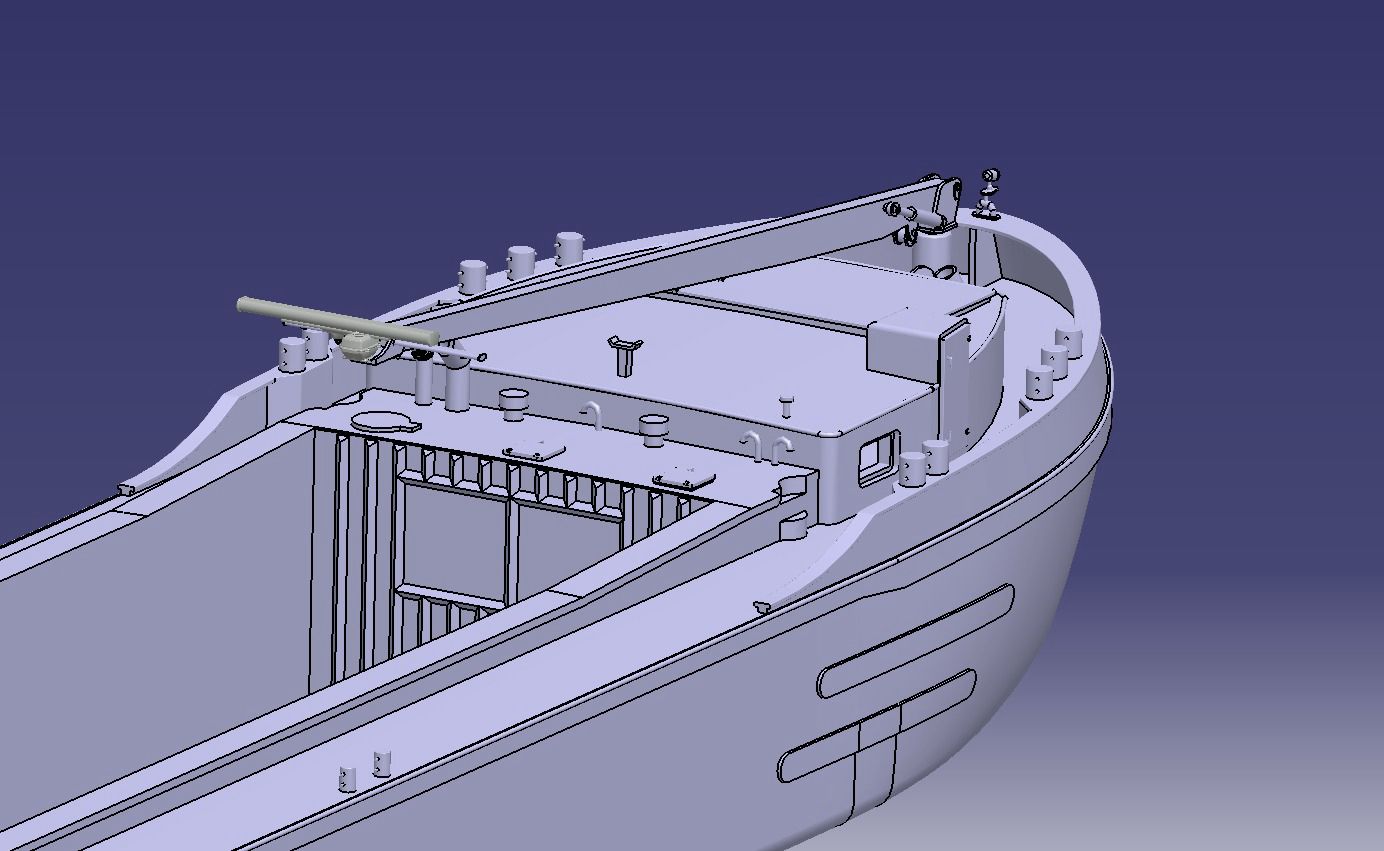
3D Design of Your Model
In our approval workflow, we guide you through three key checkpoints. In the process of transforming all data into a digital 3D model, you’ll have three opportunities to review and approve the progress. Checkpoint 1: You’ll see the initial model focusing on the hull shape, deck(s), bulwark and superstructure. Checkpoint 2: We refine major components, such as winches, deck cranes, hatch coamings and the wheelhouse. Checkpoint 3: Finally, you’ll approve all fine fittings and details, including—but not limited to—stairways, railings, doors, hatches, windows, bollards, side lights, masts, radars, and hull markings. names and logo. Once everything is approved at each stage, we move forward confidently to the next step, ensuring that the final 3D print is exactly what you envisioned.
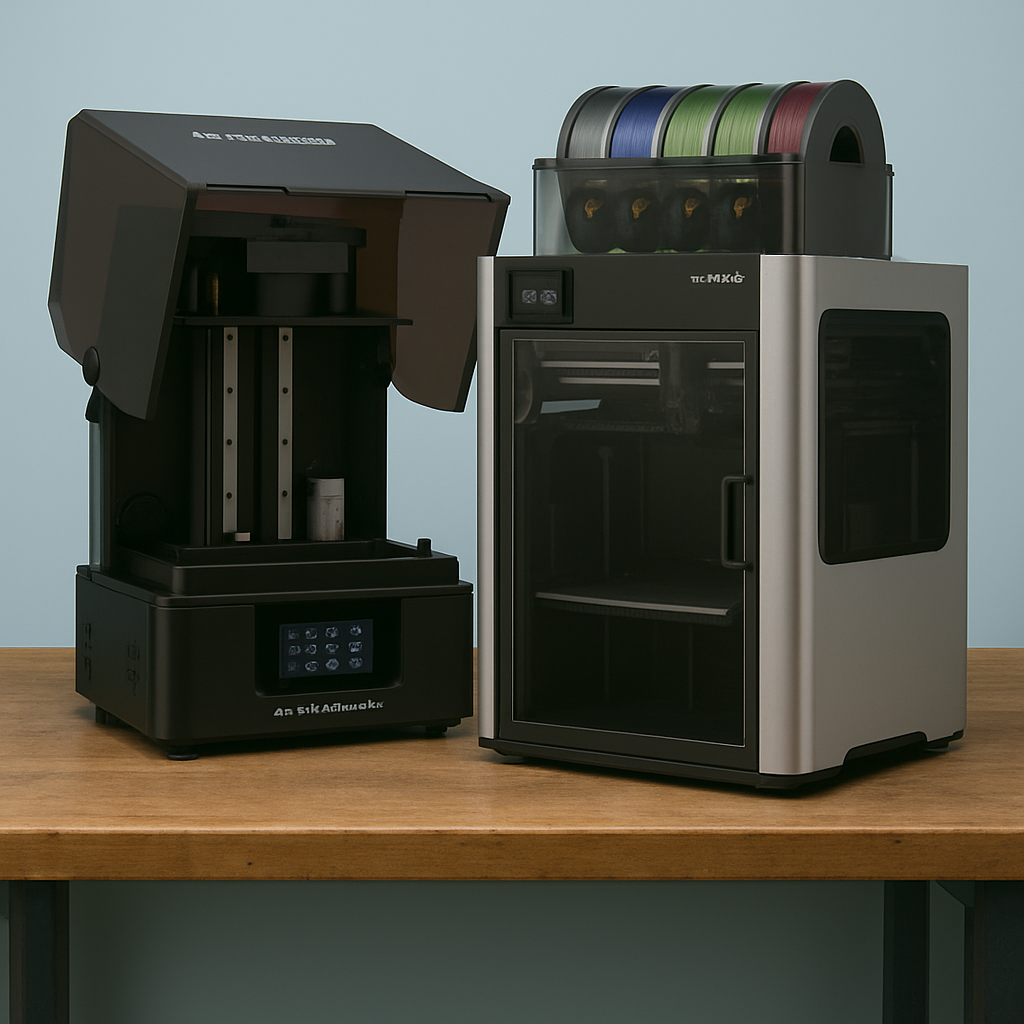
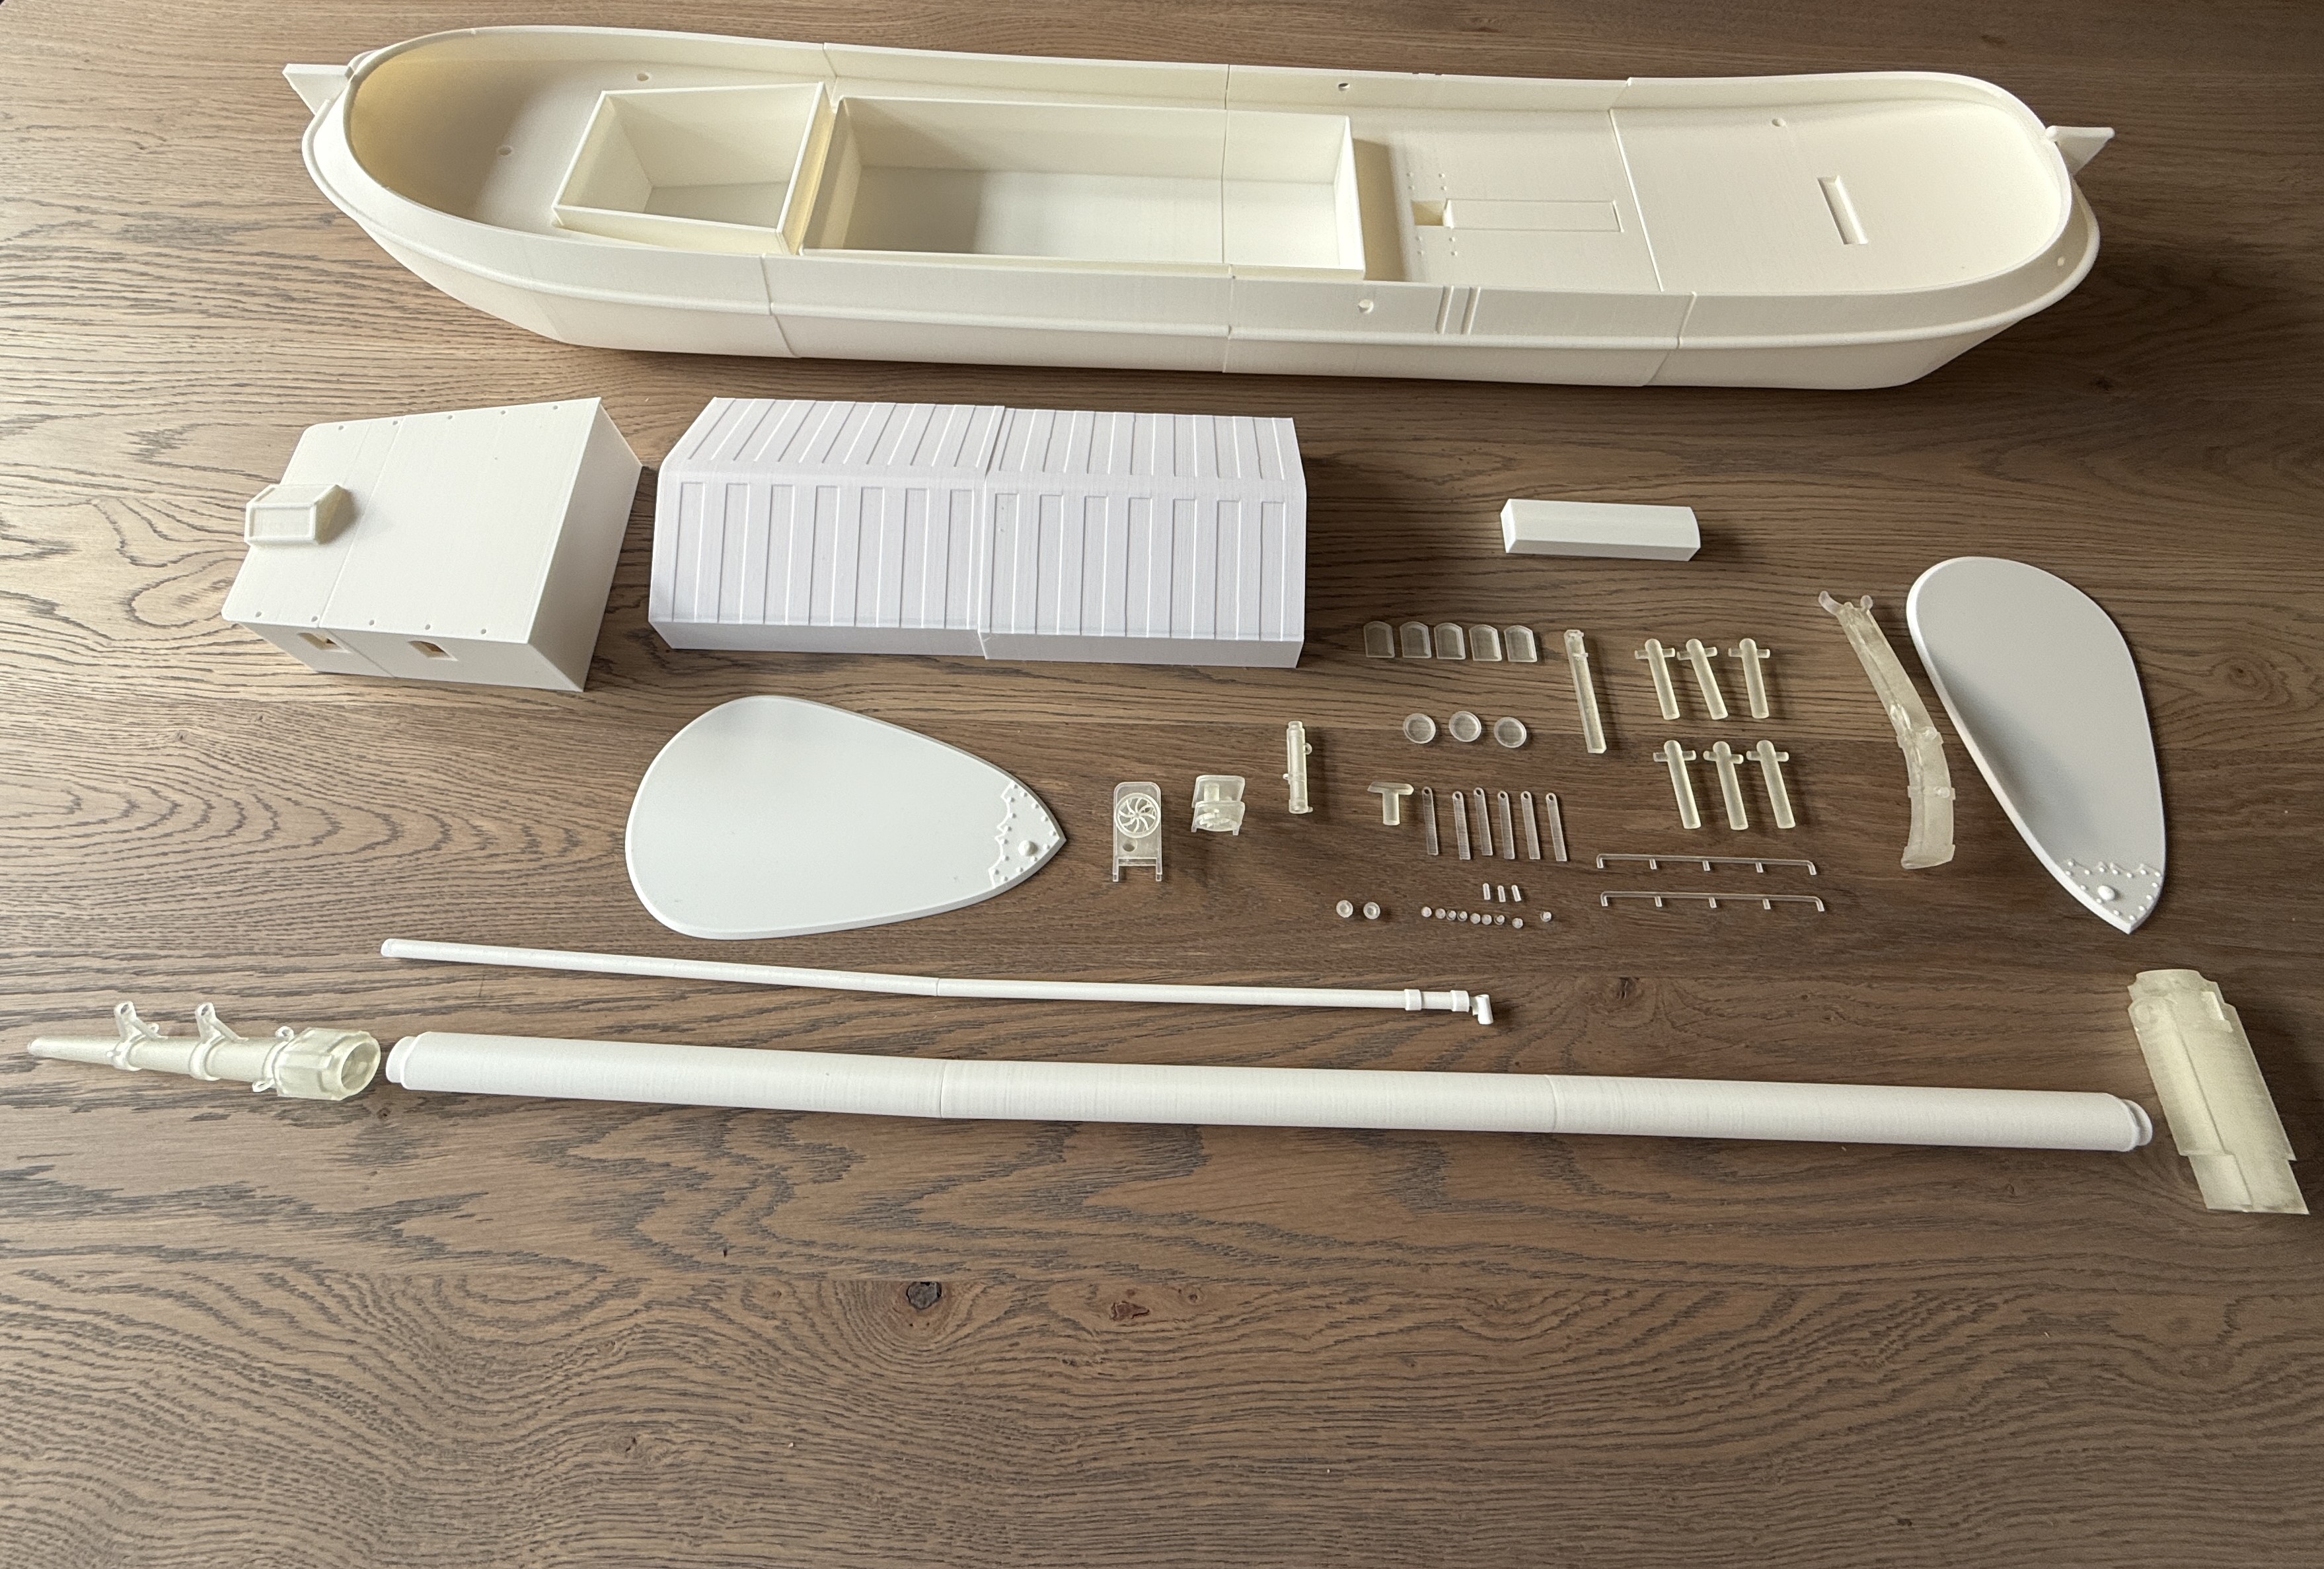
3D Printing of All Components
Once we have prepared all parts as printable files, we move on to production. By default, we print in high-quality PLA (Polylactic Acid), a strong material widely used in the world of 3D printing. We also print in SLA (Stereolithography resin), a liquid photopolymer resin cured with UV light. SLA offers extremely fine, smooth detail—ideal for smaller or highly detailed parts. SLA-printed parts are more expensive. If you choose an SLA upgrade, we will prepare and quote accordingly. All parts are printed with optimal orientation and support structures to preserve detail and ensure strength. If the model is assembled by you, we’ll minimize post-processing on your parts where possible and will provide clear assembly guidance. If the model is assembled by us, we will do the necessary sanding and filling work if the model is not being fully assembled.
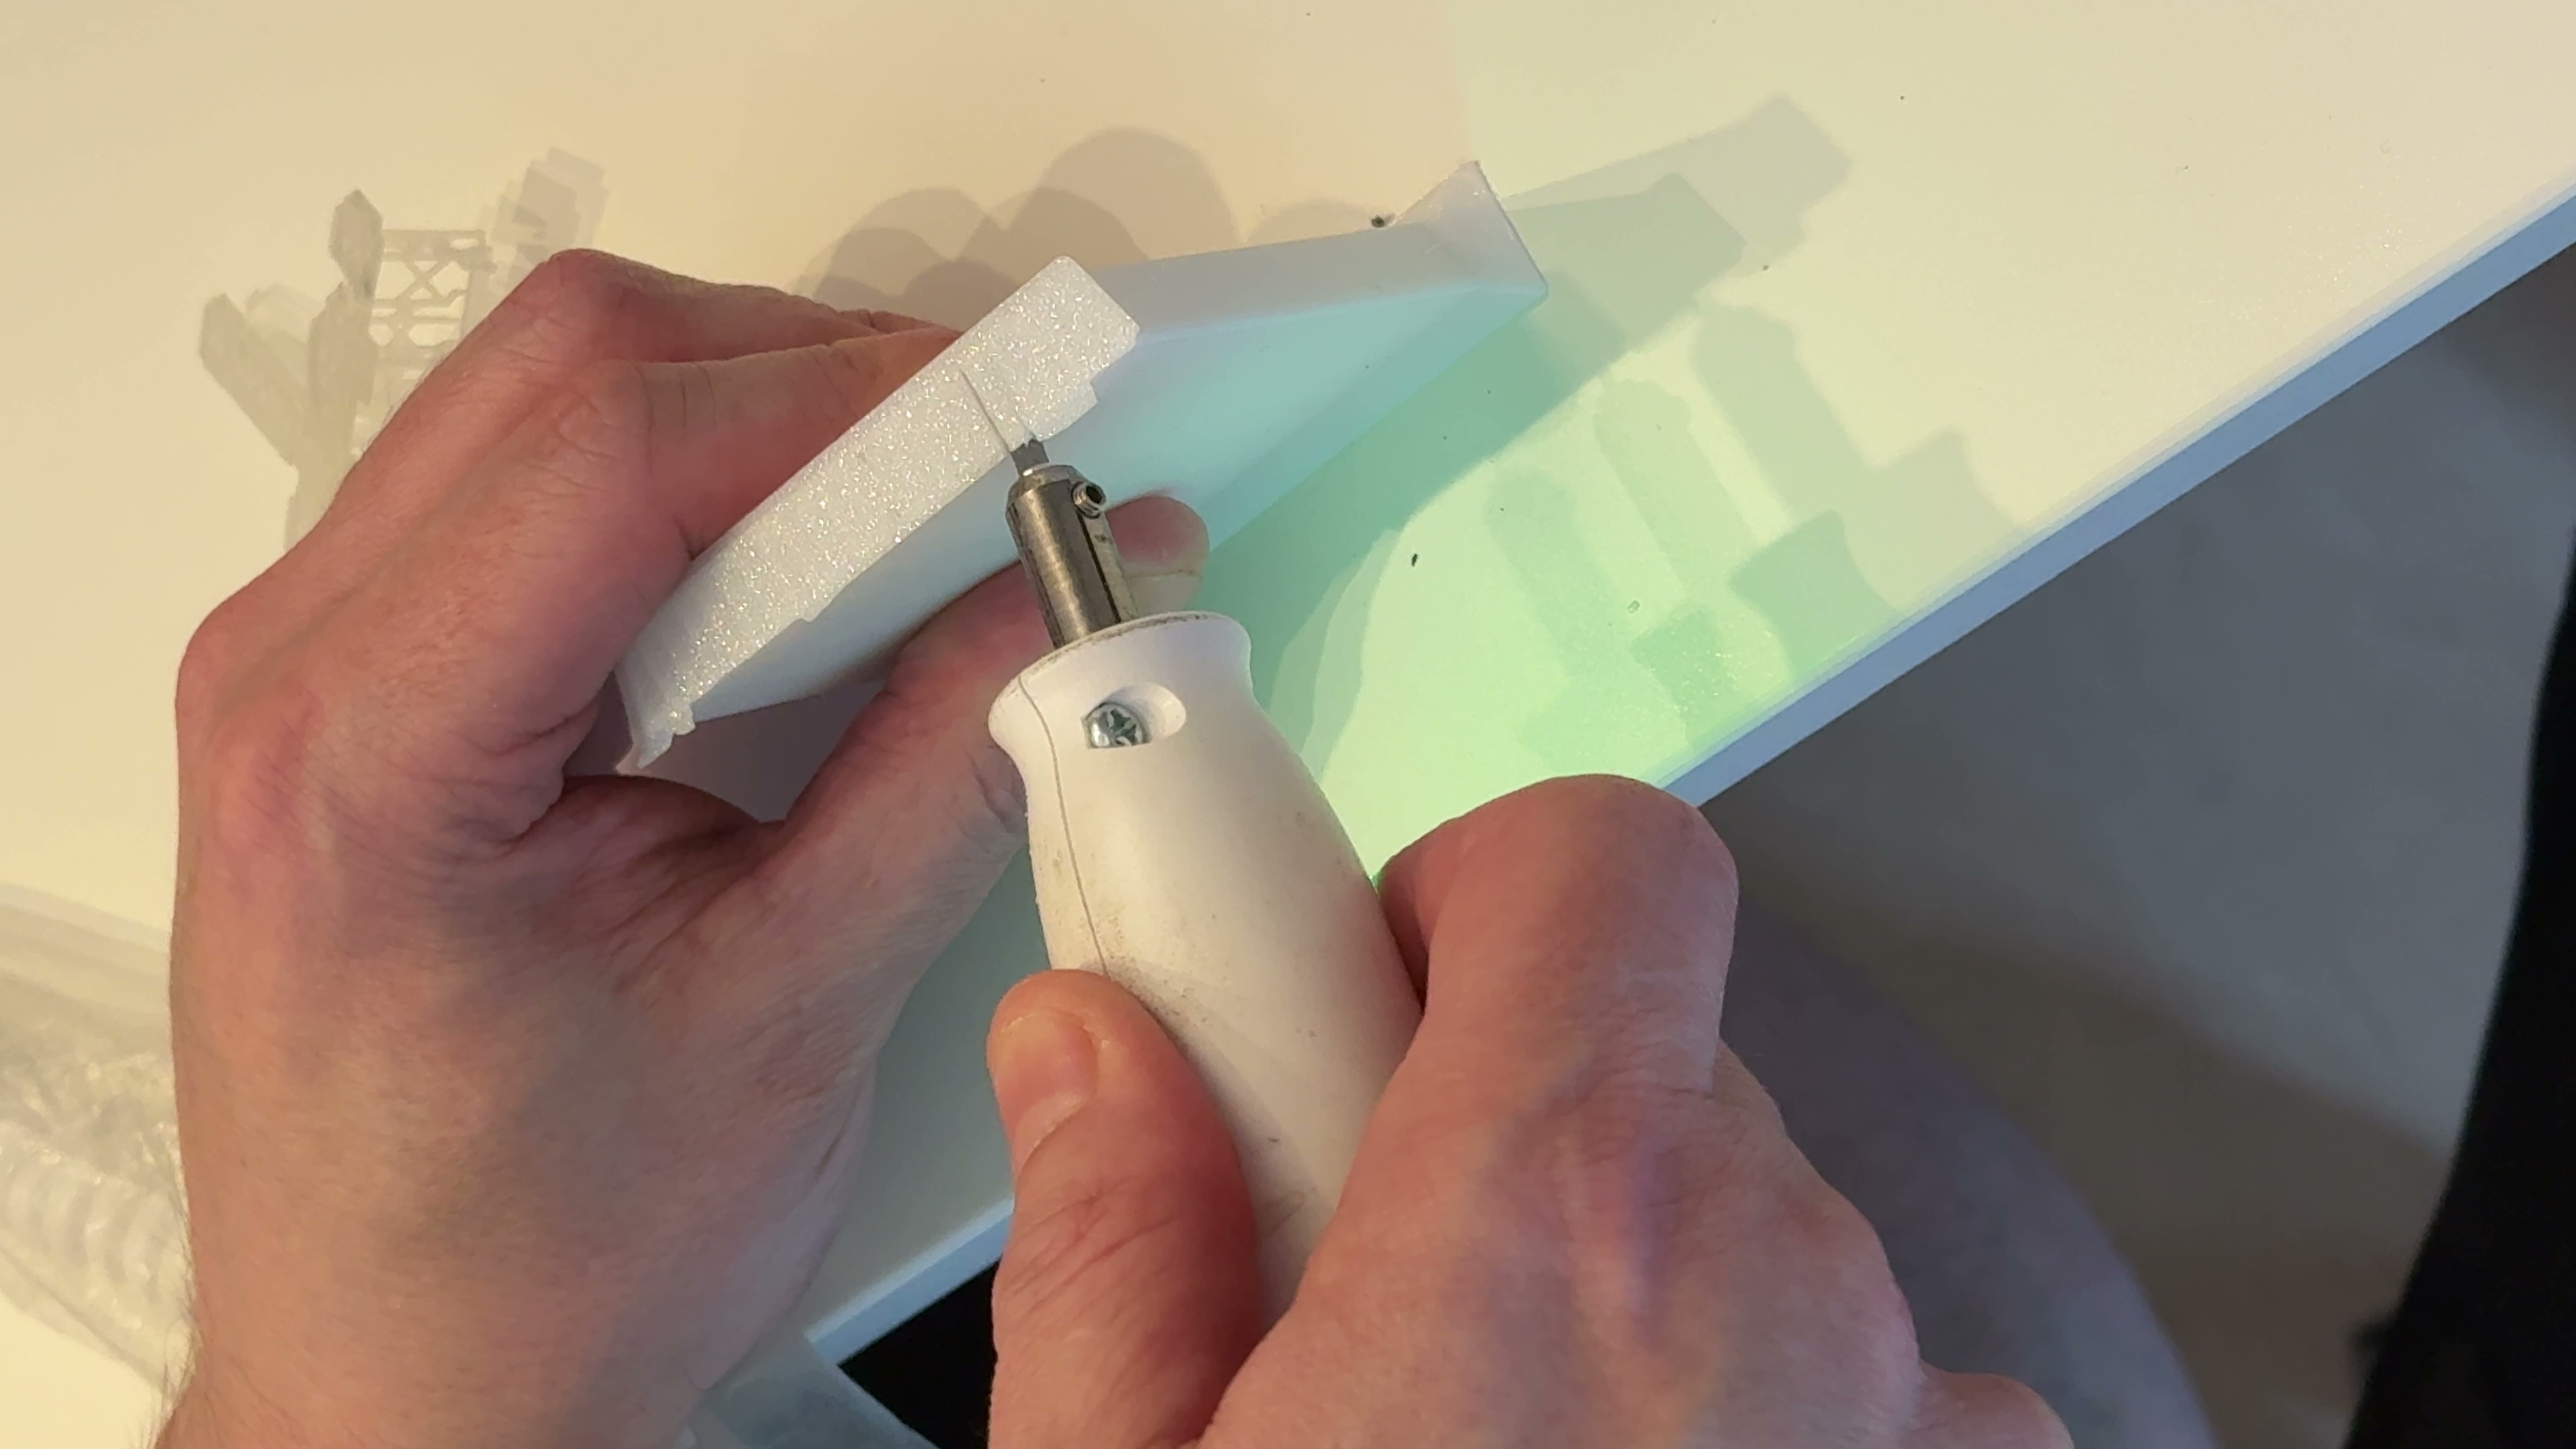
Post-processing 3D Prints
Once all parts have been printed, we move on to post-processing. For PLA-printed parts, support structures are removed and surfaces are refined where needed. Layer lines remain minimal thanks to our latest technology. SLA-printed parts require more extensive post-processing: we remove supports, wash the parts in isopropyl alcohol, and fully cure them under UV light. After this, they dry for an additional day to achieve the best possible result.
Quality Control
After all printed parts have been cleared of supports, we proceed with quality control. Every item is checked for accuracy, surface quality, and strength. If any are rejected, the defective printed parts will be reprinted.
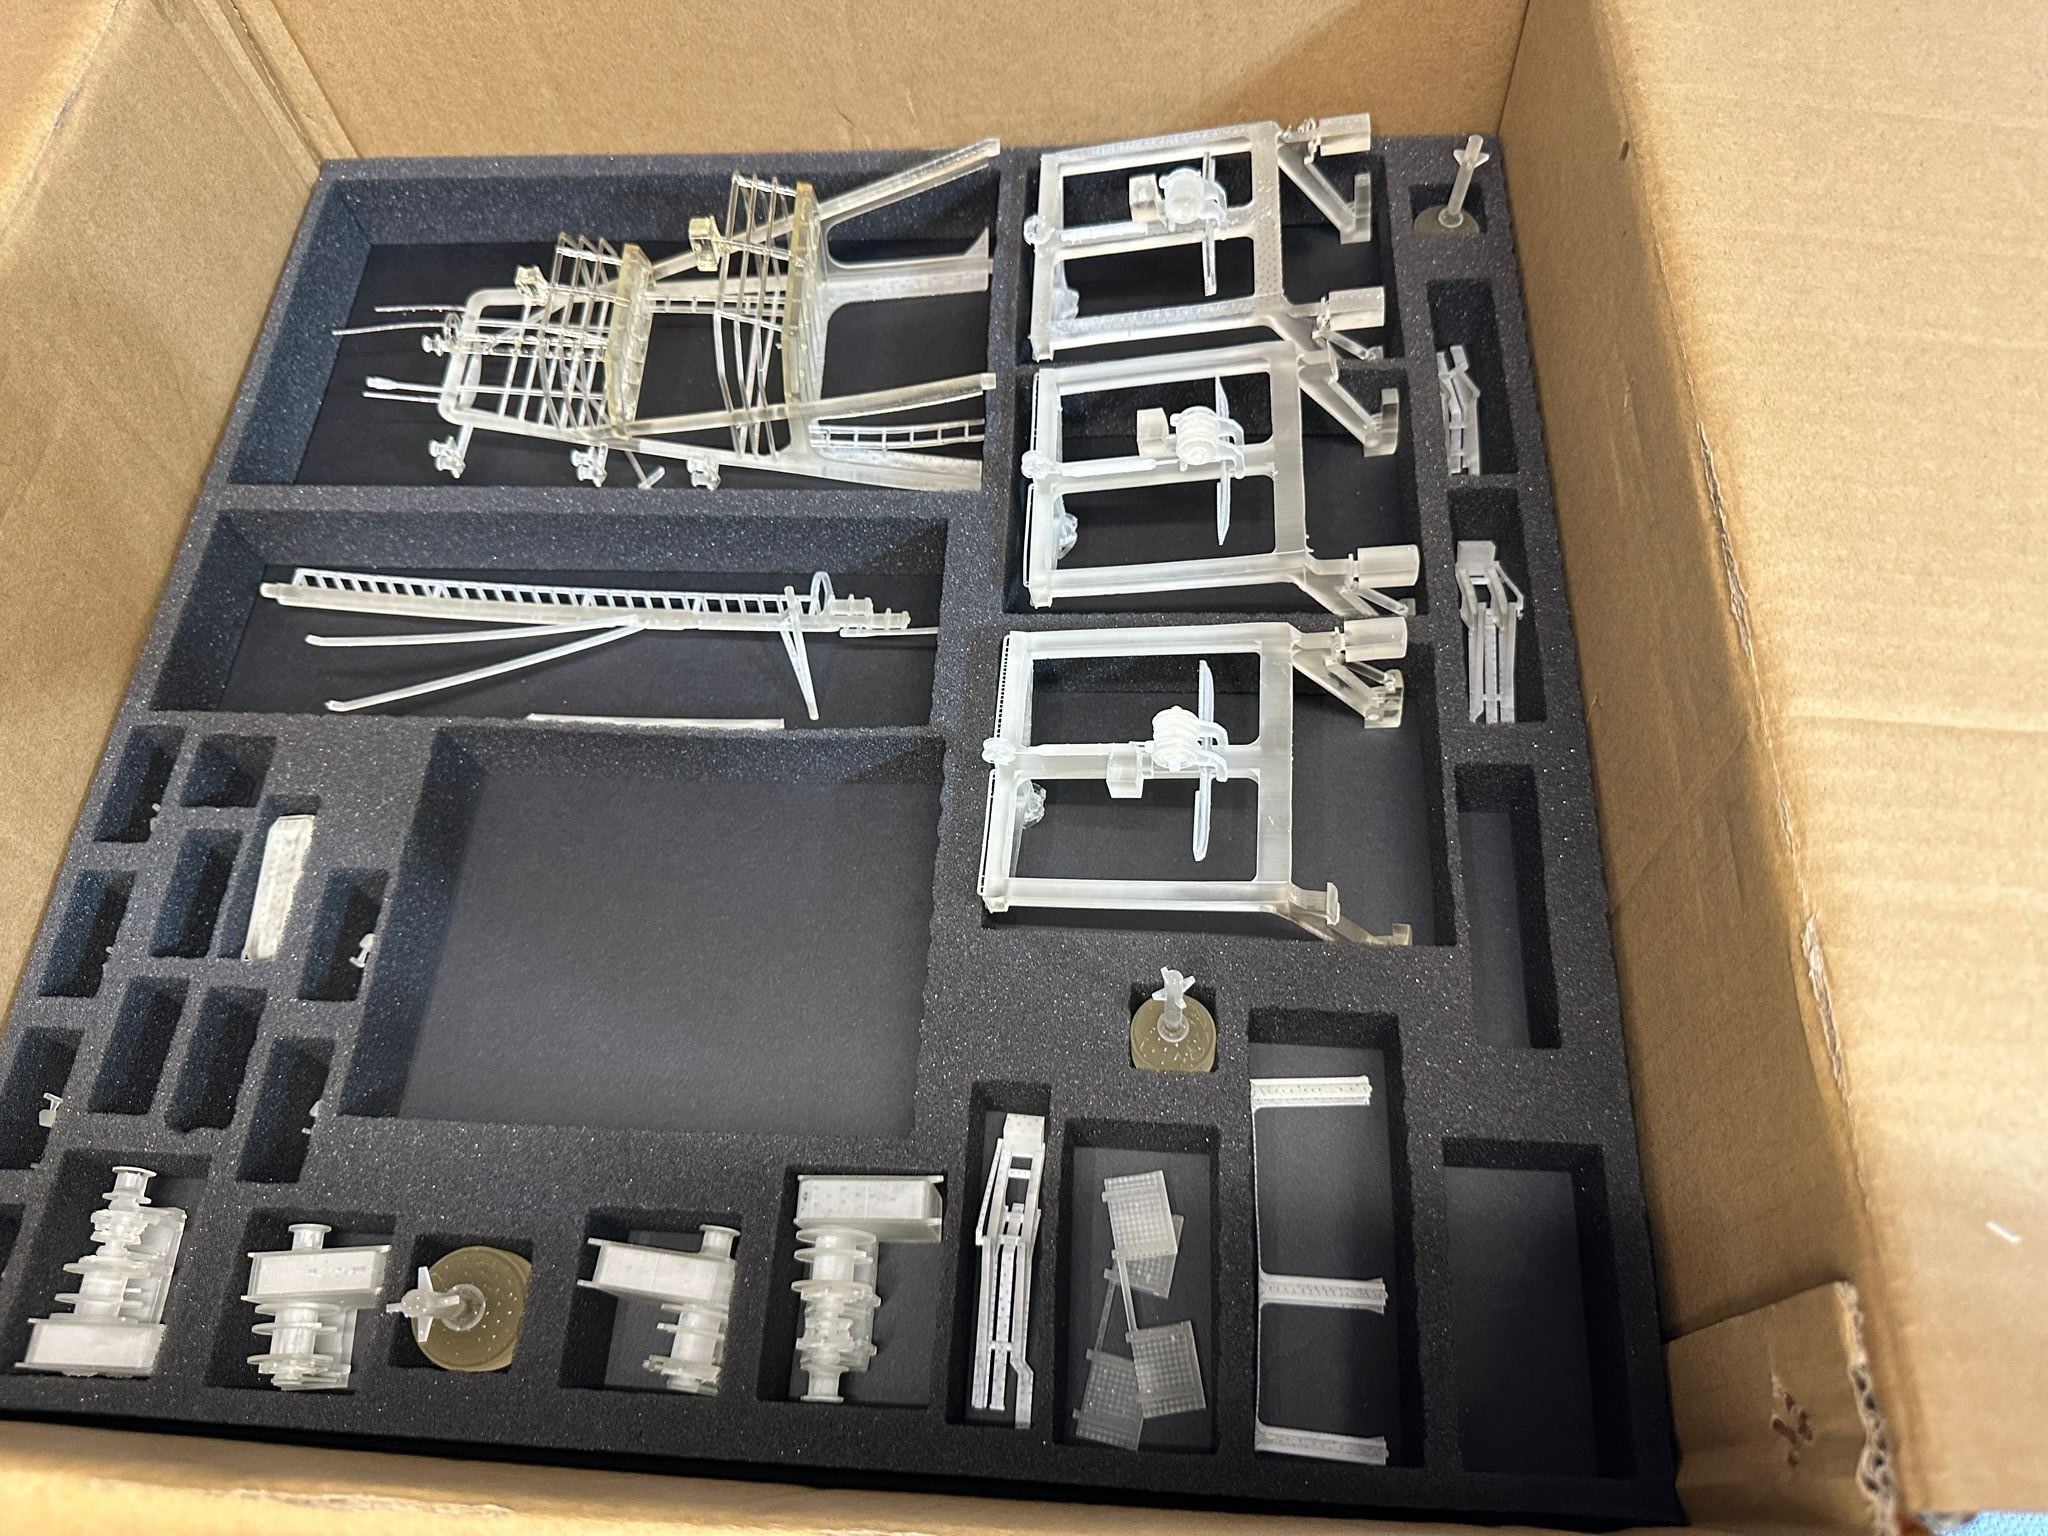
Shipping
All parts are now ready to be shipped. To ensure that all printed parts remain safe and well organized, we pack them in custom foam inlays. Would you like a different shipping method? Ask about the possibilities. If you have chosen to have the model assembled by us, we will send the parts directly to the assembler.
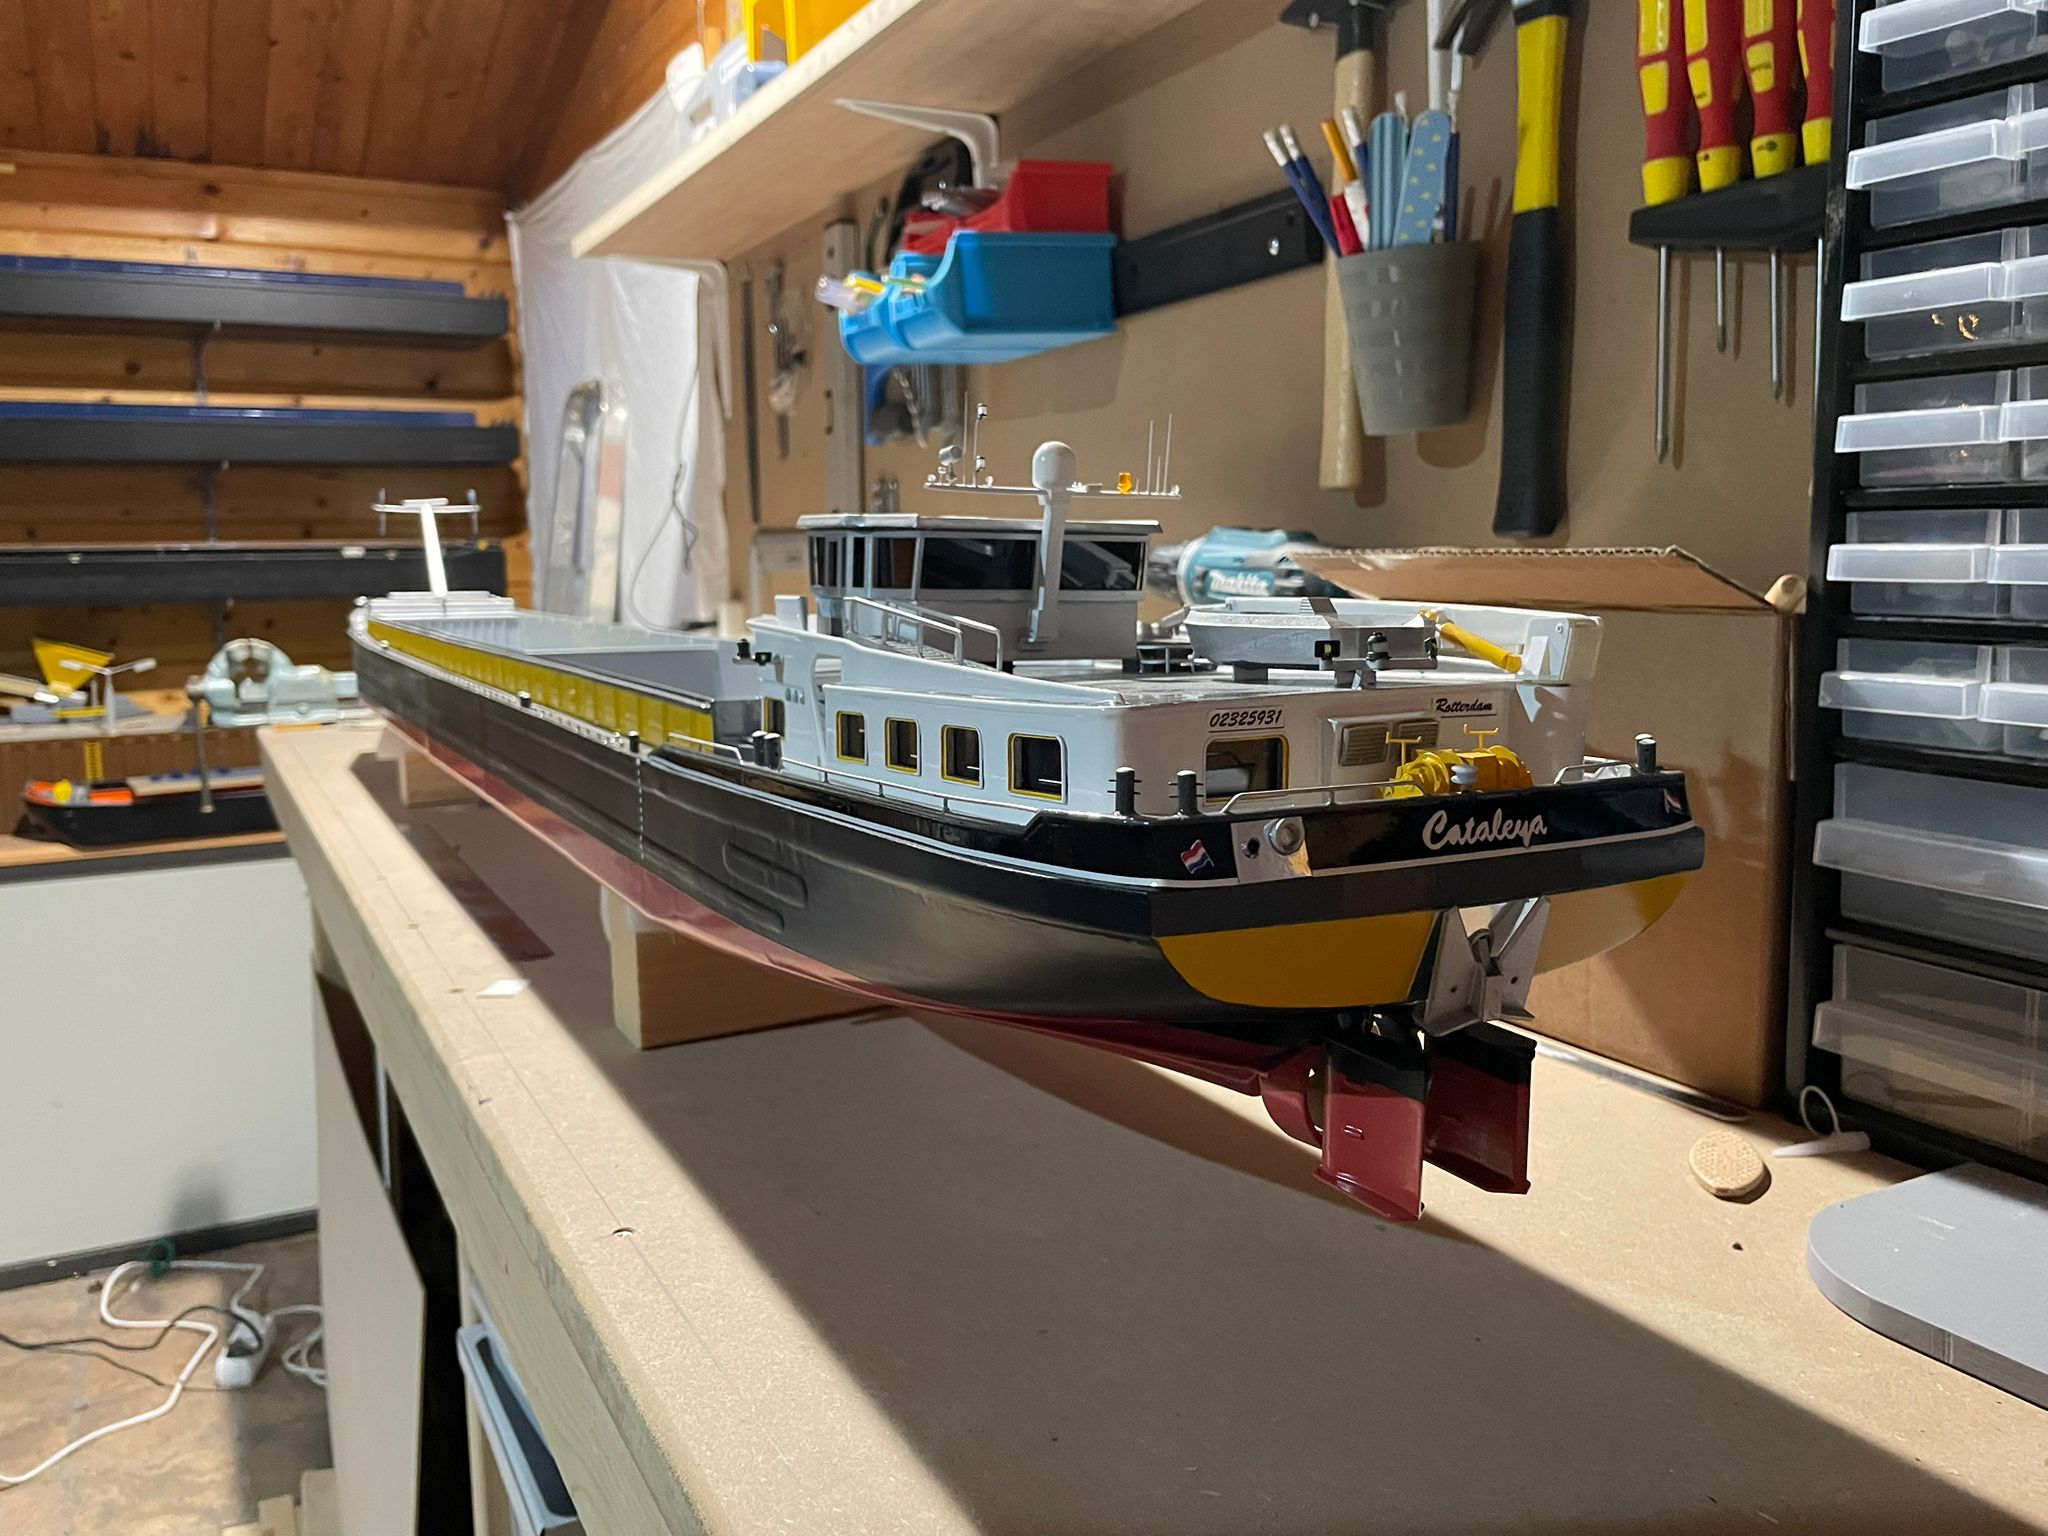
Assembly Process (if applicable)
When the model is assembled by one of our skilled assemblers, it will be professionally assembled, painted, and finished to museum-quality standards. Once the model is fully assembled, your unique project will be personally delivered.
Ready To Create Your Masterpiece?
Bring your vision to life with our precision printing technology. Together, we’ll create something extraordinary.